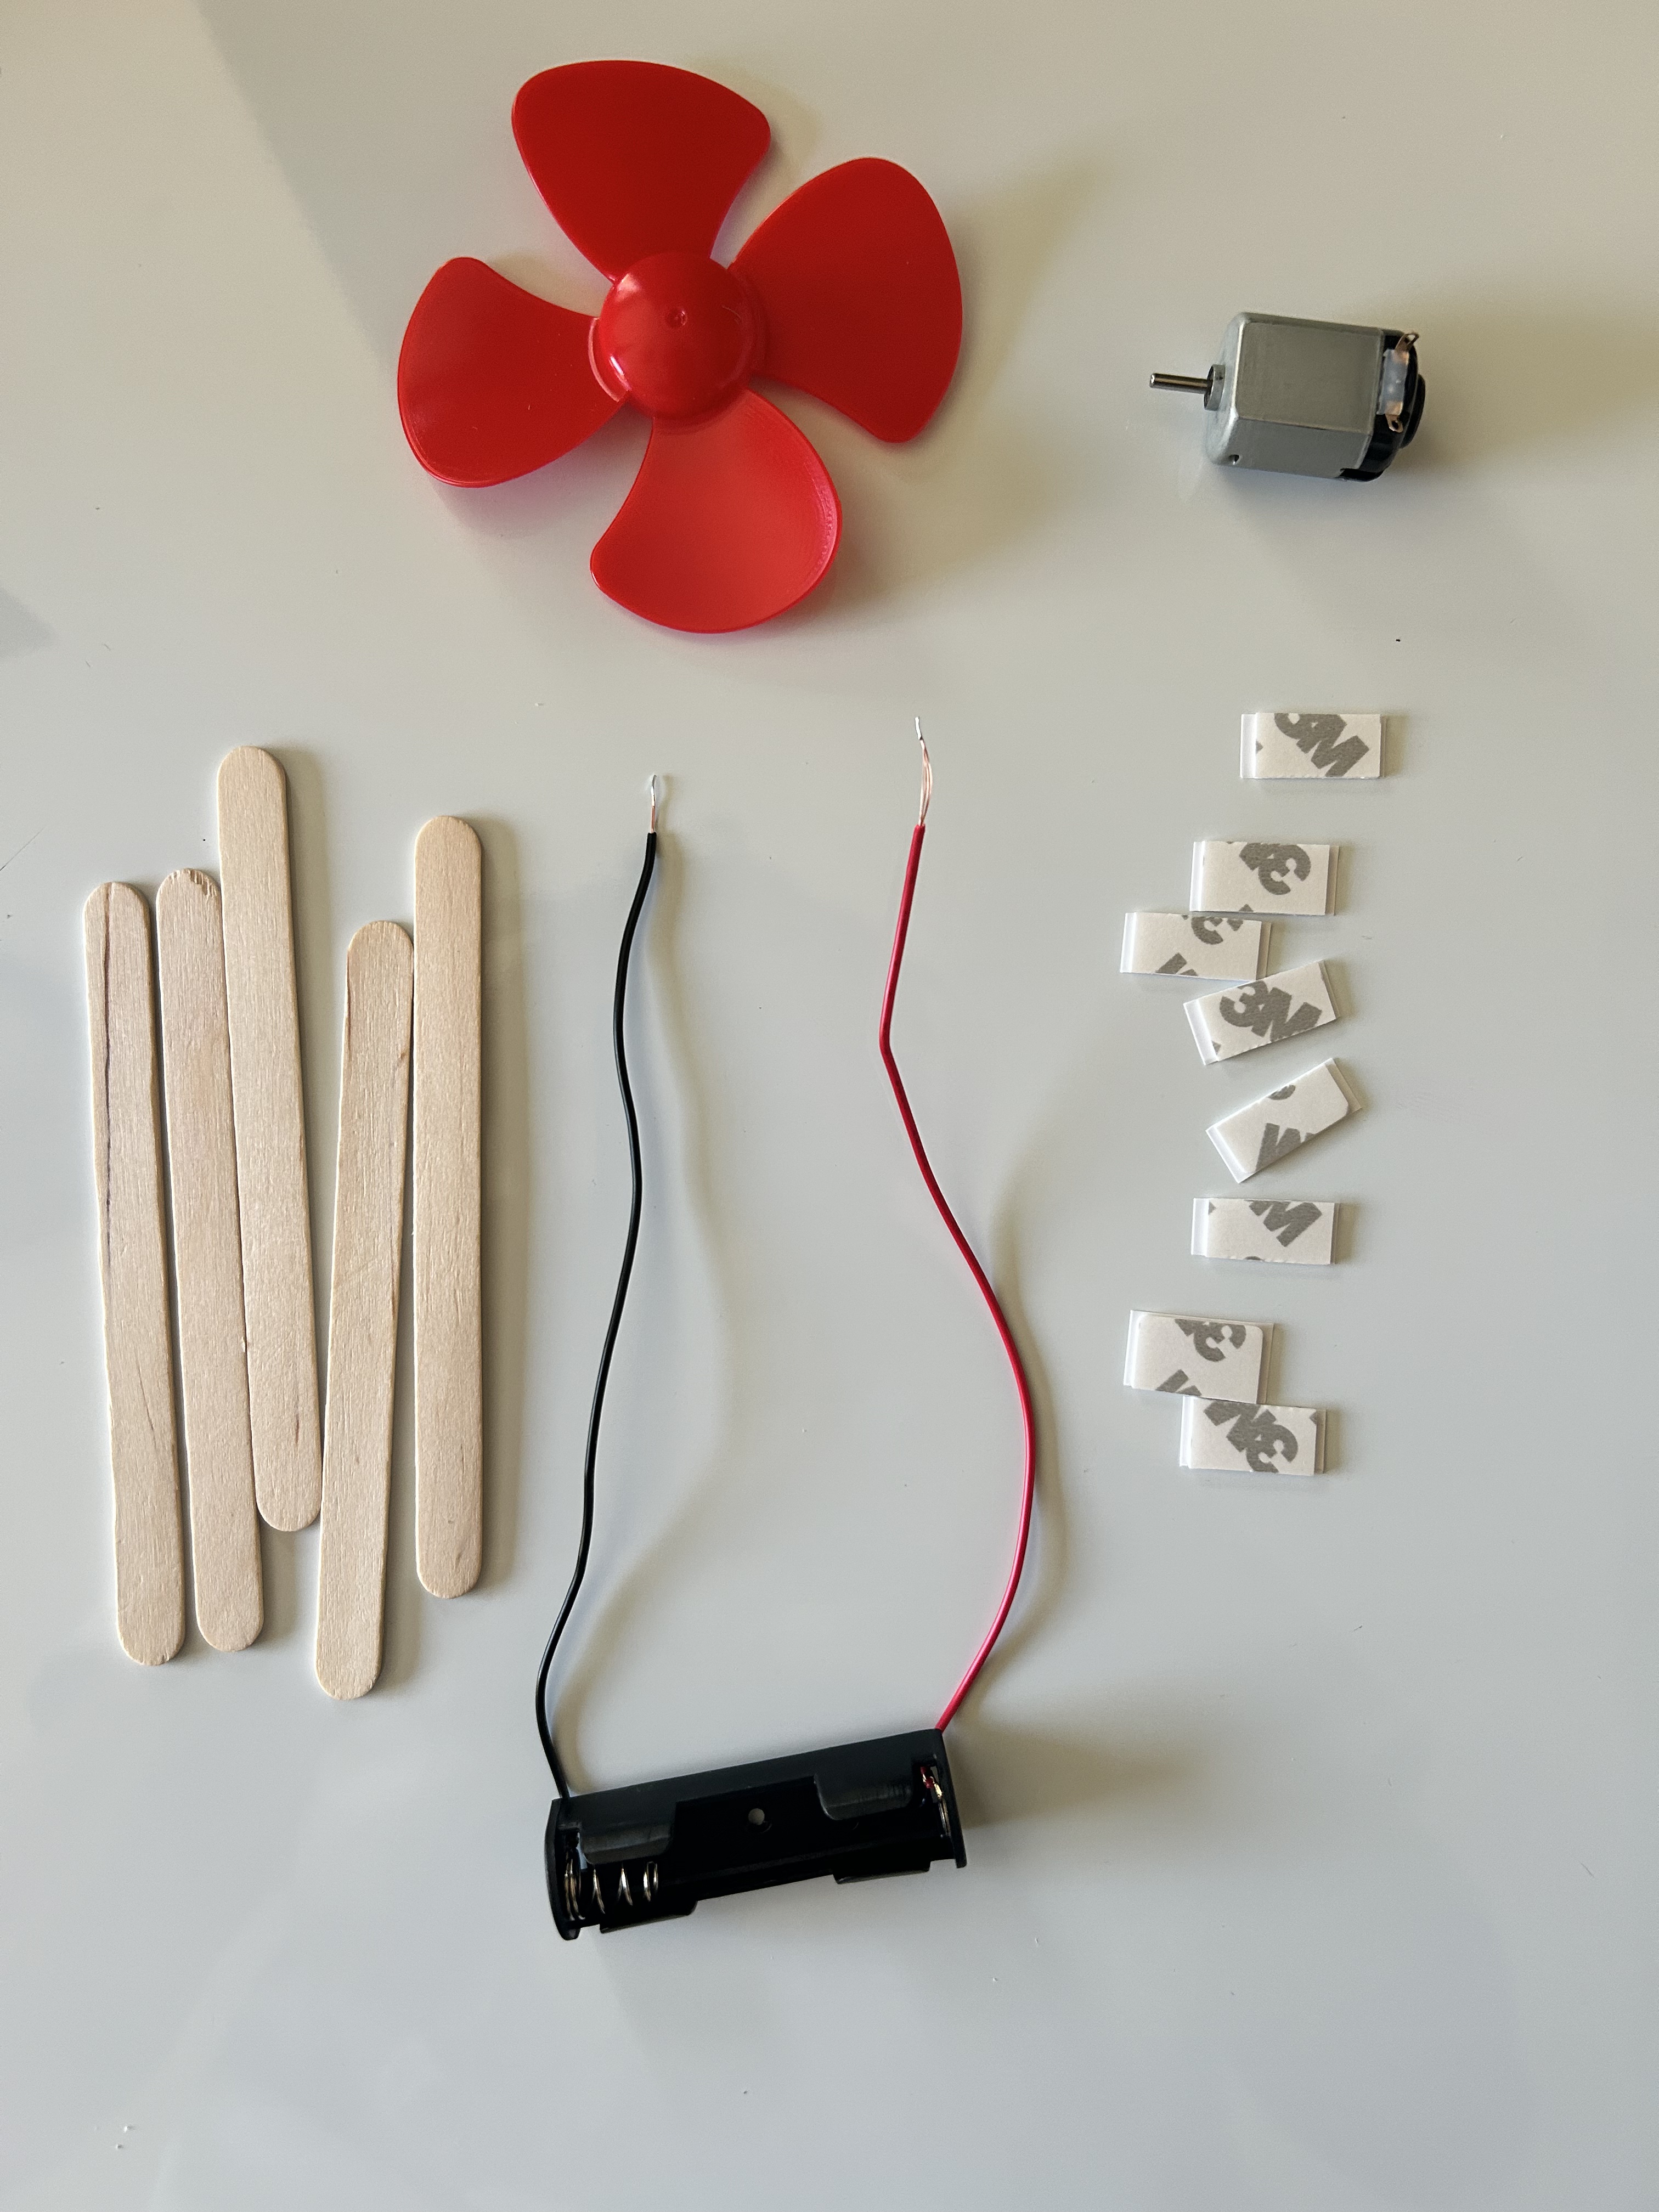


Materials You Need:
- 5 Popsicle sticks
- 7 pieces of double-sided tape
- 1 Battery terminal (with connectors for the battery)
- 1 Battery (a regular AA battery works great!)
- 1 DC motor (small motor)
- 1 Fan (could be a small plastic fan blade or a piece of stiff paper cut into a circle to attach to the motor)

1. Build the Fan Stand
- Take 5 popsicle sticks and line them up to stack each other. (this will be your fan’s base).
- Use two pieces of double-sided tape to attach the popsicle sticks together, and then do the same with the others to create your base handle.
- Now, you have the stand where your fan will sit!

2. Attach the Motor to the Base
- Use two more pieces of double-sided tape to attach the motor to the top of the popsicle stick. Make sure the motor is pointing upward so that the fan can spin!

3. Connect the Holder
- Attach your battery Holder opposite of your motor. It should have two connectors, one for the positive side (+) and one for the negative side (-) of the battery.
- Attach one wire from the battery terminal to the positive side (+) of the motor, and the other wire to the negative side (-) of the motor.
- Use a piece of double-sided tape to hold the battery terminal in place at the bottom of your fan stand.


4. Prepare the Fan Blade
- If you have a small plastic fan blade, you can attach it to the motor’s spinning part. If you don’t have a fan blade, you can use a piece of stiff paper:
- Cut out a small circle from the paper.
- Make a small slit in the center of the circle and place it carefully onto the spinning part of the motor.


5. Test Your Fan
- Once everything is connected, press the wires onto the battery terminals to complete the circuit.
- The motor should start spinning, and your fan blade will begin to spin too!
6. Make Adjustments if Needed
- If the fan blade is spinning too slowly or not at all, make sure the wires are connected firmly to the motor and battery.
- You can adjust the fan blade angle to help it spin more easily if necessary.
Leave a Reply