How to Make an Art Bot
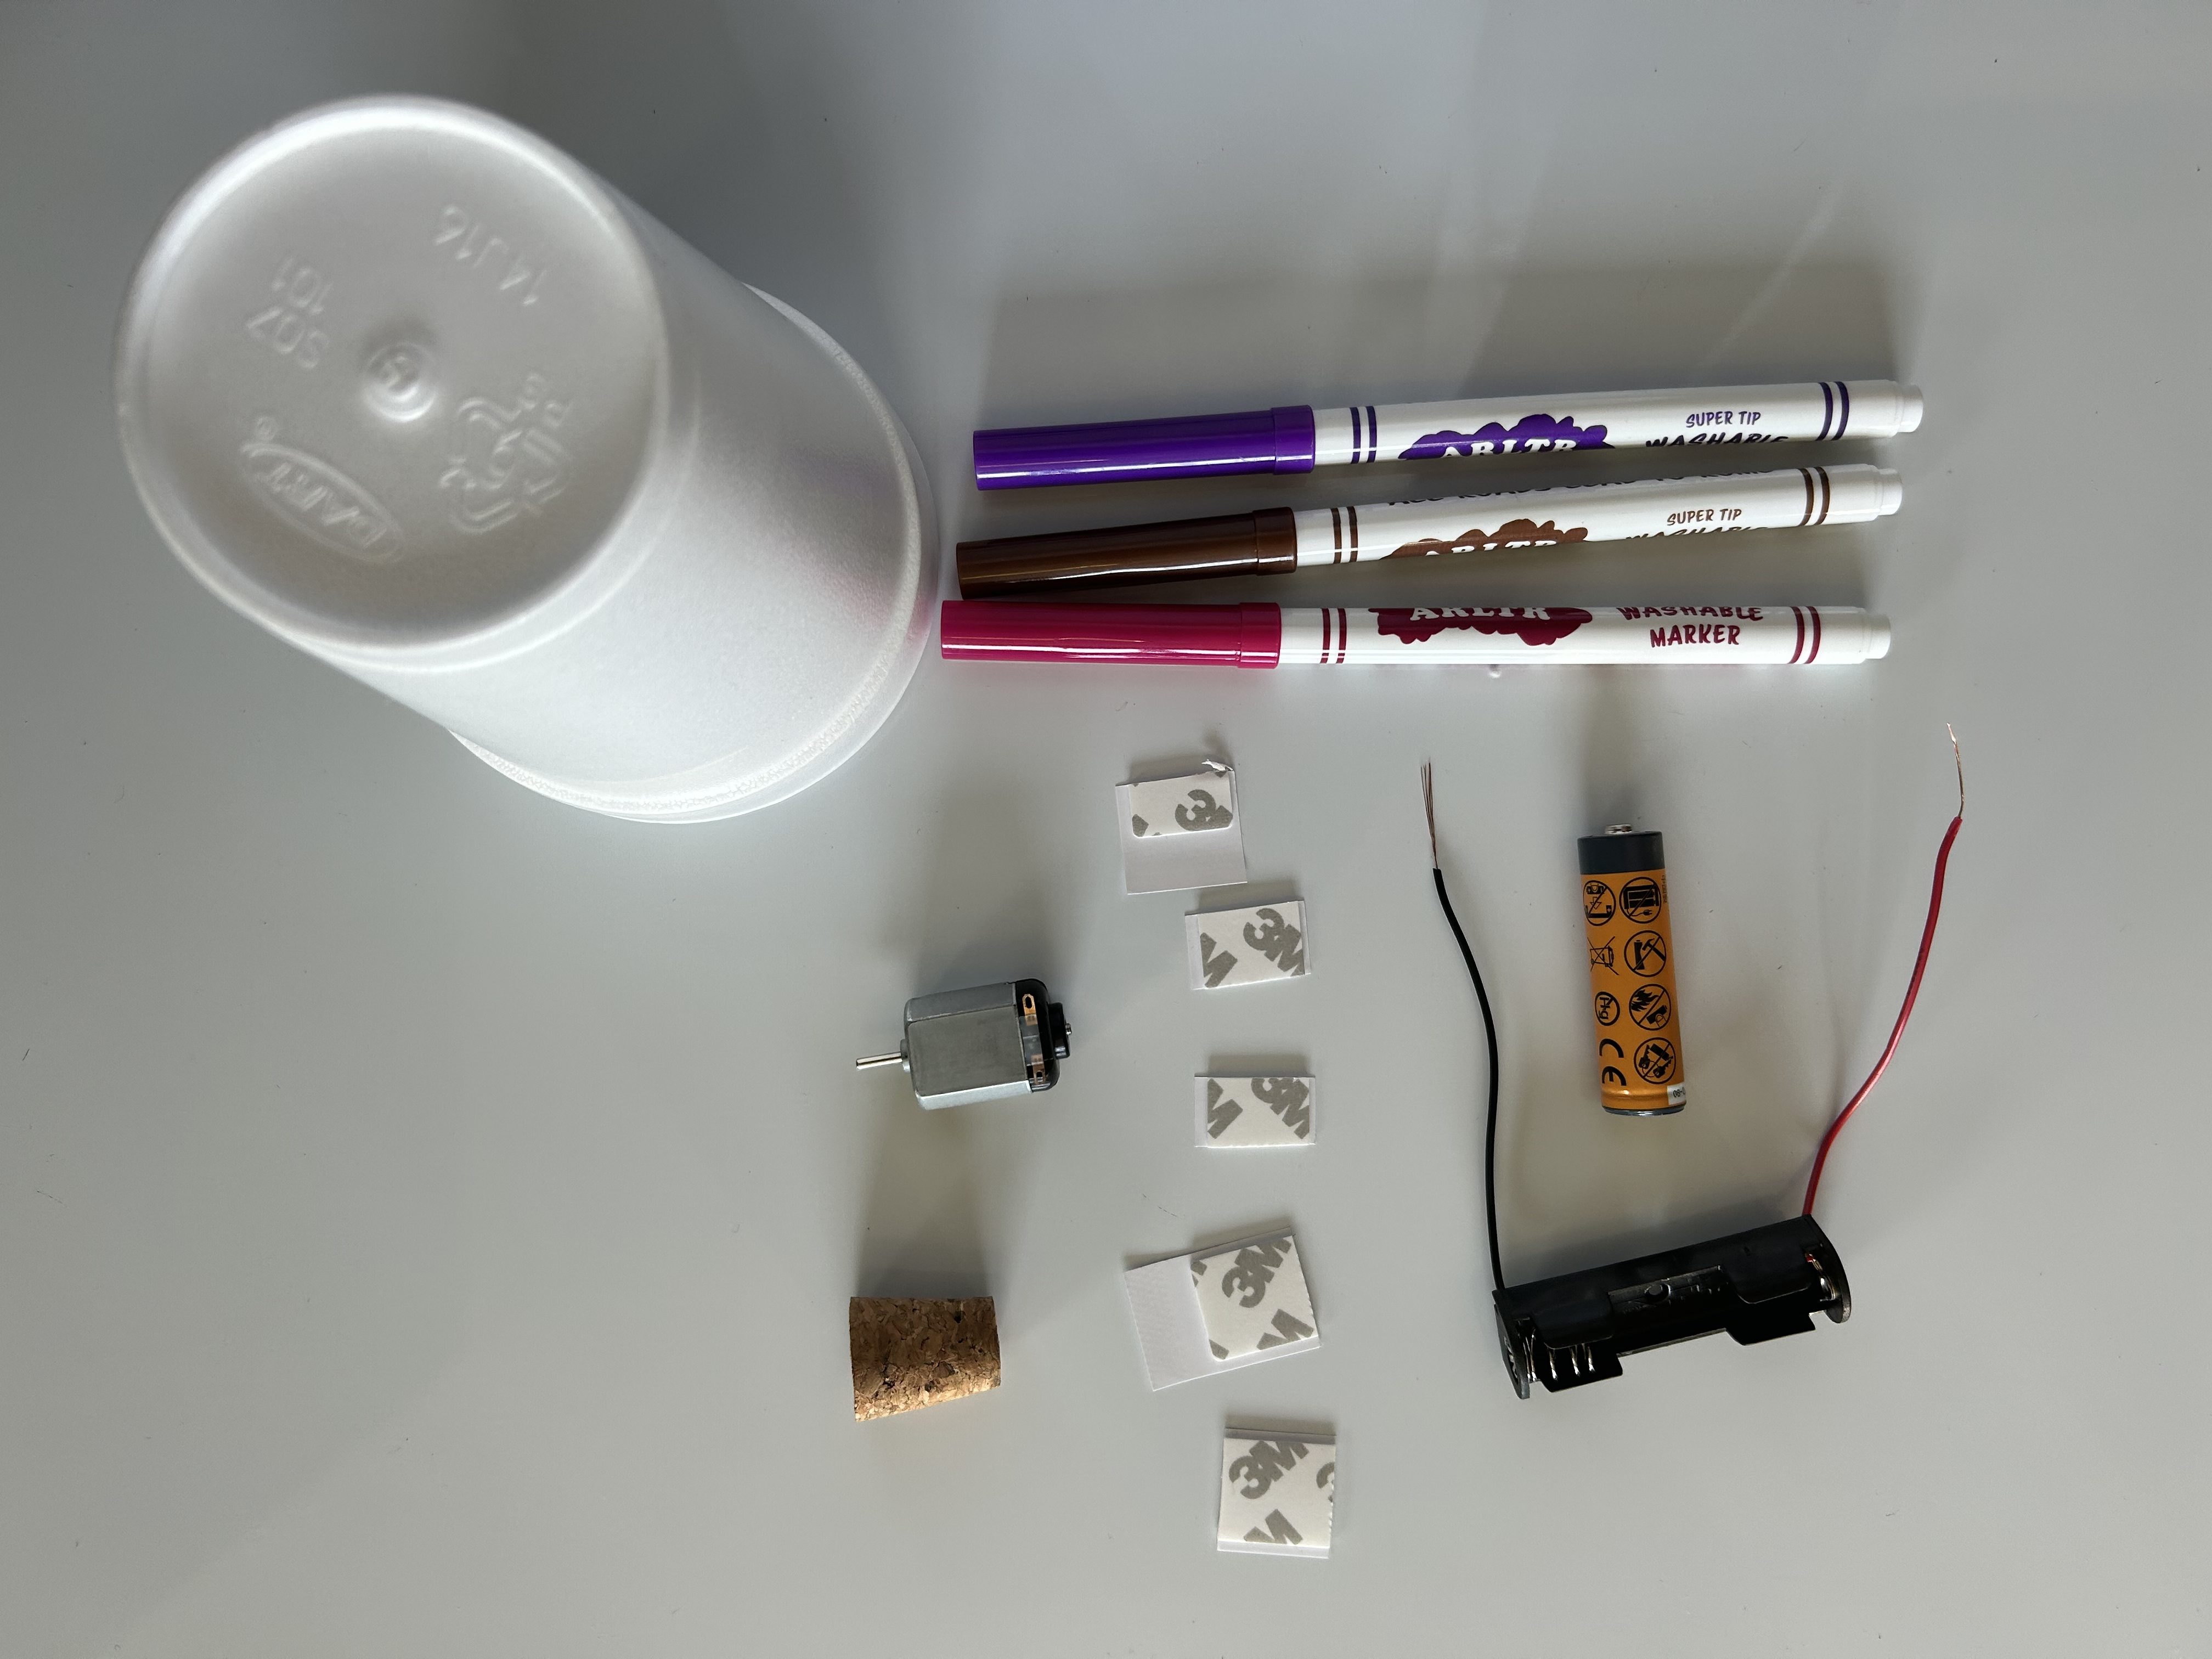
Materials you need:

- 1 cup (like a small plastic or paper cup)
- 3 colored markers
- 1 cork
- 1 motor (the kind you can attach to a battery holder)
- 1 battery holder
- 1 battery (usually AA)
- Command strips (these are sticky strips to hold things together)
Steps to Make the Art Bot:
Step 1: Prepare the Cup

- First, grab your cup. This will be the body of your art bot.
- Turn the cup upside down (so the open part is facing the table).
Step 2: Attach the Motor


- Take your motor and carefully attach the cork to the shaft (the stick part that sticks out) of the motor. The cork should spin when the motor is turned on.
- Use a command strip to attach the motor to the bottom of the cup. Make sure the cork hangs down a little bit from the cup’s bottom so it can spin freely.
Step 3: Add the Battery Holder


- Now, grab the battery holder. Stick it to the side of the cup using the command strips. The battery holder will give power to the motor.
- Insert the battery into the holder, making sure the + (plus) and – (minus) signs on the battery match up with the battery holder.
Step 4: Attach the Markers


- Take your four colored markers and attach them around the cup. You can use command strips or just tape them gently to the sides.
- The markers should point down towards the paper, so they can draw when the motor makes the cork spin.
Step 5: Test Your Art Bot

- Once everything is attached, make sure the motor is connected to the battery holder and everything is secure.
- Turn on the motor by connecting the battery to the holder. If everything is working, the cork will start spinning, and the markers will touch the paper, making art as the bot moves around.
Step 6: Draw with Your Bot
- Put your art bot on a piece of paper and watch it move and draw. You can try moving the bot to different places on the paper to create cool designs and patterns!
Leave a Reply